|
|
|
|
Directory: Game Play >> Tricks >> Level 14 >> Barrier.
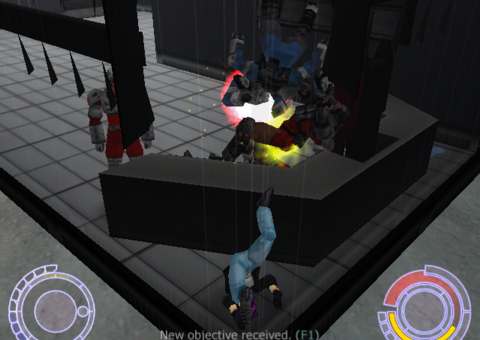
Between Savepoint 1 and Savepoint 2, I claim it is better to let the guy to pull the alarm. Why?
All you have to go is to jump to the other side of the barrier. You should go to the other side, not on
the side that I am in the picture. You could hit them at your will on that side mainly. It will be
1 on 1 combat where you will be doing most of the damage. All you have to do is punch and kick. If
you back away in the corner, they would not be able to get you. You could easily kill them off and
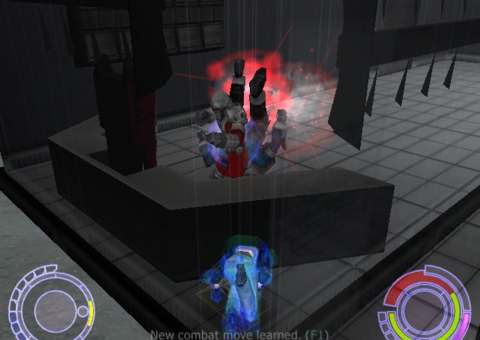
get two hypos from the elite strikers who came from the alarm. Throws look very wierdly through the barrier.
You could throw without touching the guy. I threw a blue elite striker on top of a red striker who fell down on the guy below
with a perfect kill. Their could be more other guys on the ground. Guys of one team could hurt each other
in this way! Look at Konoko's strange position!
This is done from the other side of table, the way it is supposed to be done. By the way, you could do legspin and hurt your enemies
under the table :).
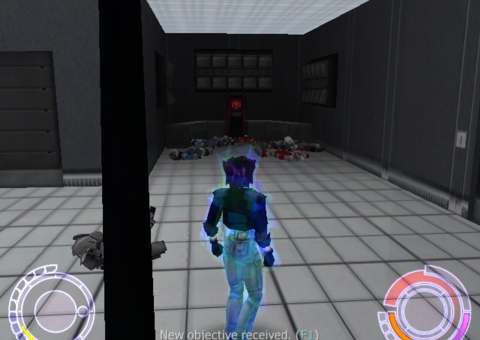
After this, you know what happens? This happens (the ones below get squashed):
|
|
|
